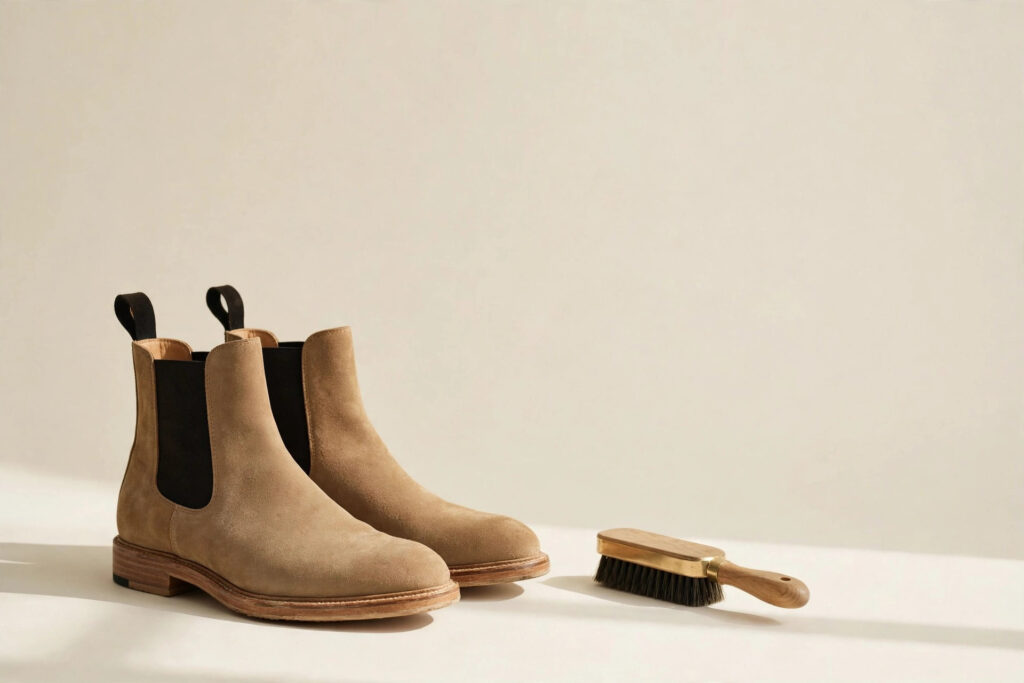
The short answer: Cleaning suede shoes comes down to three habits — keep them dry while you work, always brush in the direction of the nap, and lift stains off in light layers instead of scrubbing them out. A suede brush, a crepe eraser, and a protector spray handle nearly everything a pair will meet in normal life. Below is exactly how to use them.
Why Suede Punishes Guesswork
Smooth leather has a sealed grain surface. You can wipe it, condition it, and polish it, and it will forgive a lot. Suede is the underside of the hide, buffed into a soft nap of fine fibers — and that nap is the whole reason suede looks the way it does. It is also the reason suede is so easy to damage.
Water mats the fibers flat. Oils darken them permanently. Heat shrinks and cracks the skin underneath. Most ruined suede shoes were not ruined by dirt. They were ruined by the rescue attempt: regular shoe polish worked into the nap, a hairdryer aimed at a wet boot, a damp cloth rubbing a stain deeper into the fibers.
Everything in this guide follows from one principle: work with the nap, never against it. Brush along the direction the fibers lie to smooth them. Brush against it briefly to lift crushed fibers back up. Once you internalize that, the rest is just patience.
The Toolkit: Four Things That Actually Matter
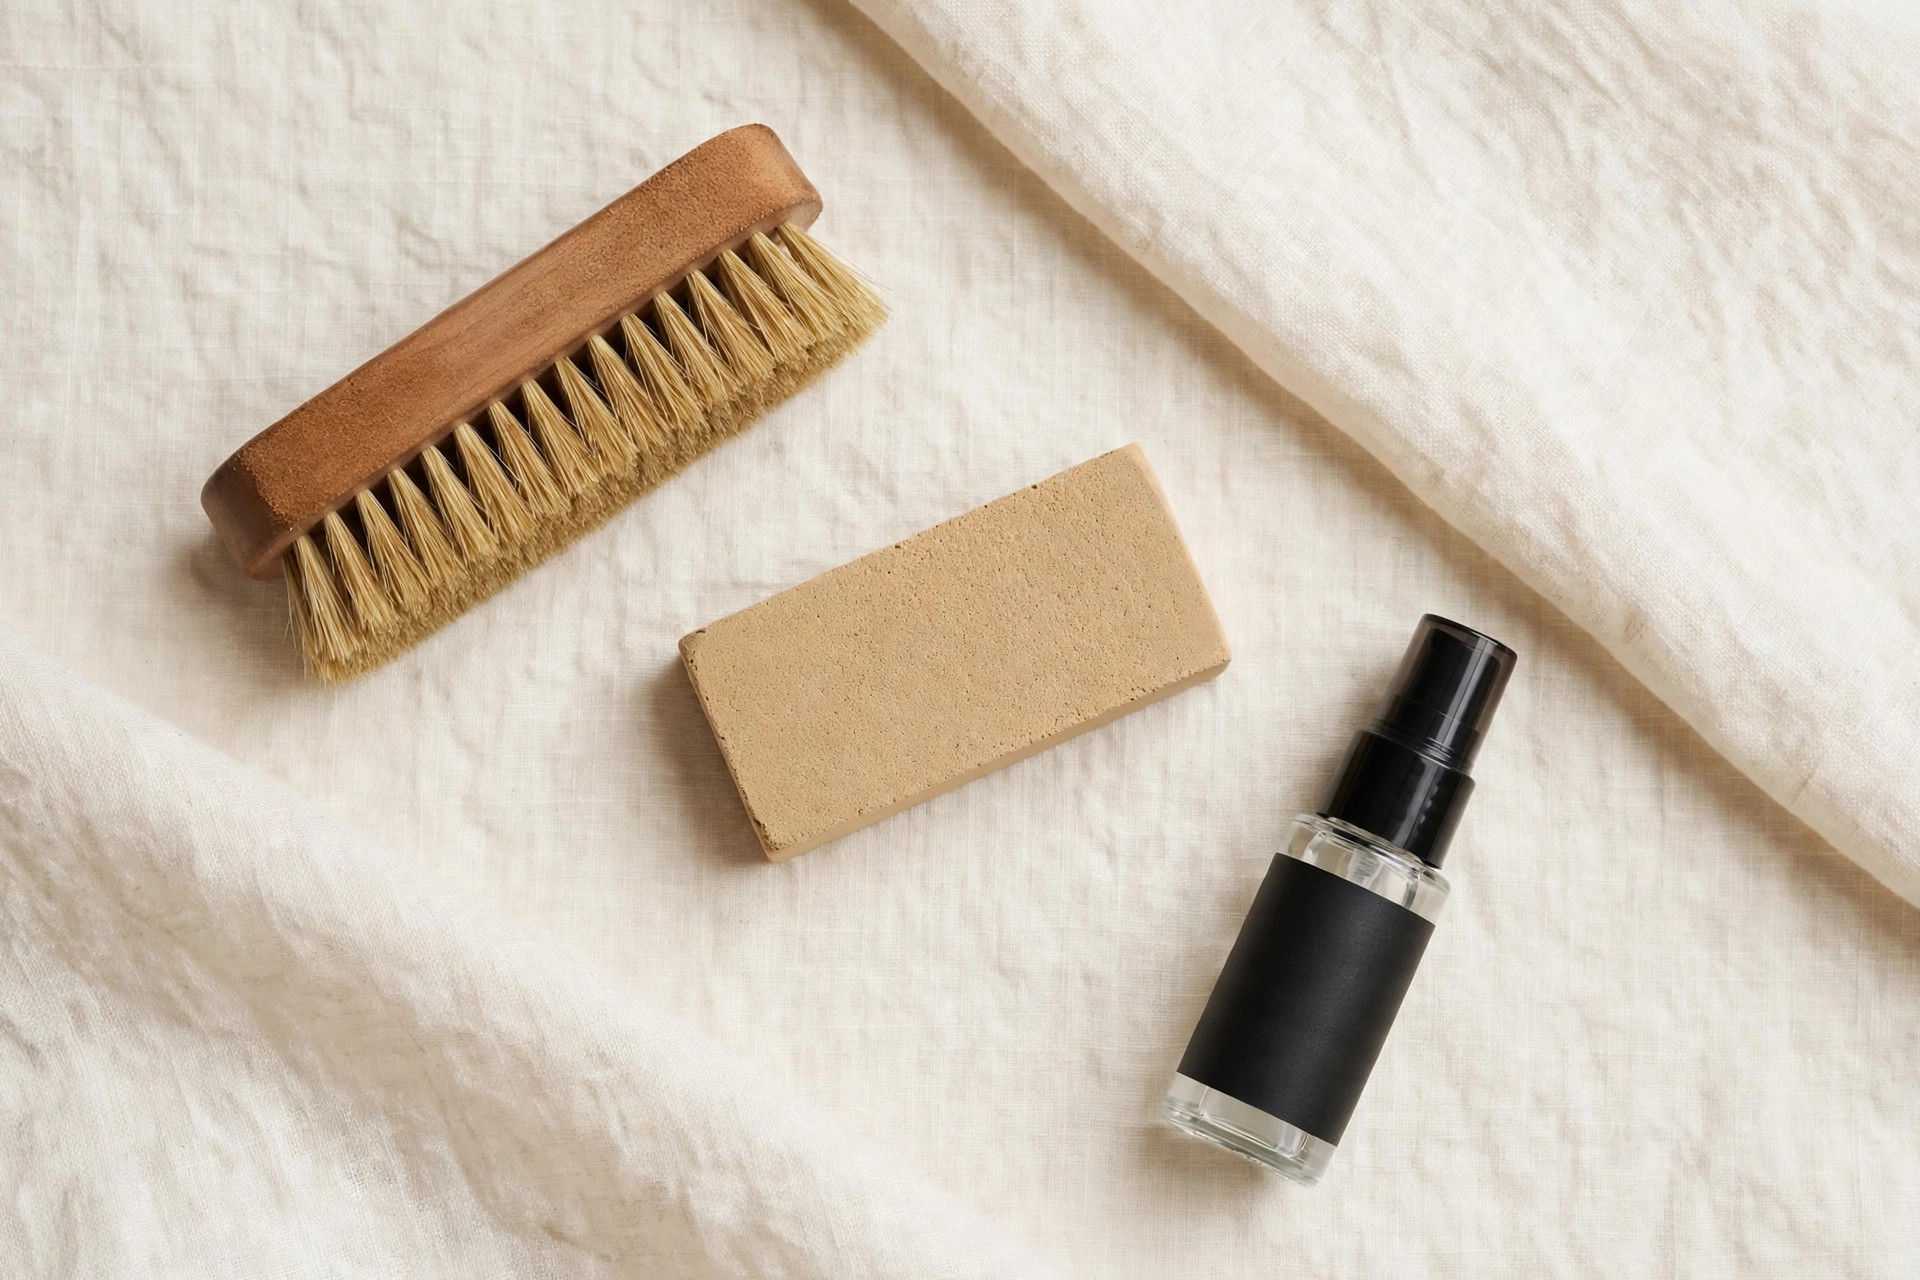
You do not need a suitcase of products. Four tools cover every situation in this guide:
- A suede brush. Many are double-sided — stiff wire-like bristles on one side for lifting the nap, softer rubber bristles on the other for finishing. This is the single most-used tool in suede care. If you buy one thing, buy this.
- A crepe eraser. A block of natural gum rubber (sometimes called a suede eraser) that crumbles gently as you rub. It lifts dry marks, scuffs, and light stains without touching the nap.
- A suede protector spray. A silicone- or water-based spray that adds a breathable barrier against water and stains. Apply it to new shoes before the first wear, and reapply after deep cleanings.
- Shoe trees and a soft dry cloth. Trees hold the shoe’s shape while it dries and keep creases from setting. The cloth is for blotting, never rubbing.
Equally important is what not to use: regular leather polish or colored cream (it clogs the nap and changes the color), stiff wire brushes meant for other jobs, and any heat source as a shortcut. Keep soap, detergents, and bleach far away from the nap — they strip the fibers and leave marks that no amount of brushing will fix.
Before You Touch Them: Dry, Empty, Stuff
Preparation decides whether the cleaning works. If the shoes are wet, let them air-dry fully at room temperature first — cleaning a wet shoe just moves the moisture and the dirt around together.
Remove the laces if there are any, so you can reach the tongue and the eyelet area. Then stuff the shoes with plain white paper or insert shoe trees. This holds the shape so the suede does not crease or collapse while you work on it.
Finally, give the whole shoe a firm brush-down with the nap lifted. Surface dust hides the real stains, and you want to see exactly what you are dealing with before you choose a method.
The Cleaning Process, Step by Step
Work through these steps in order, stopping as soon as the shoe looks right. Most everyday wear only needs the first two.
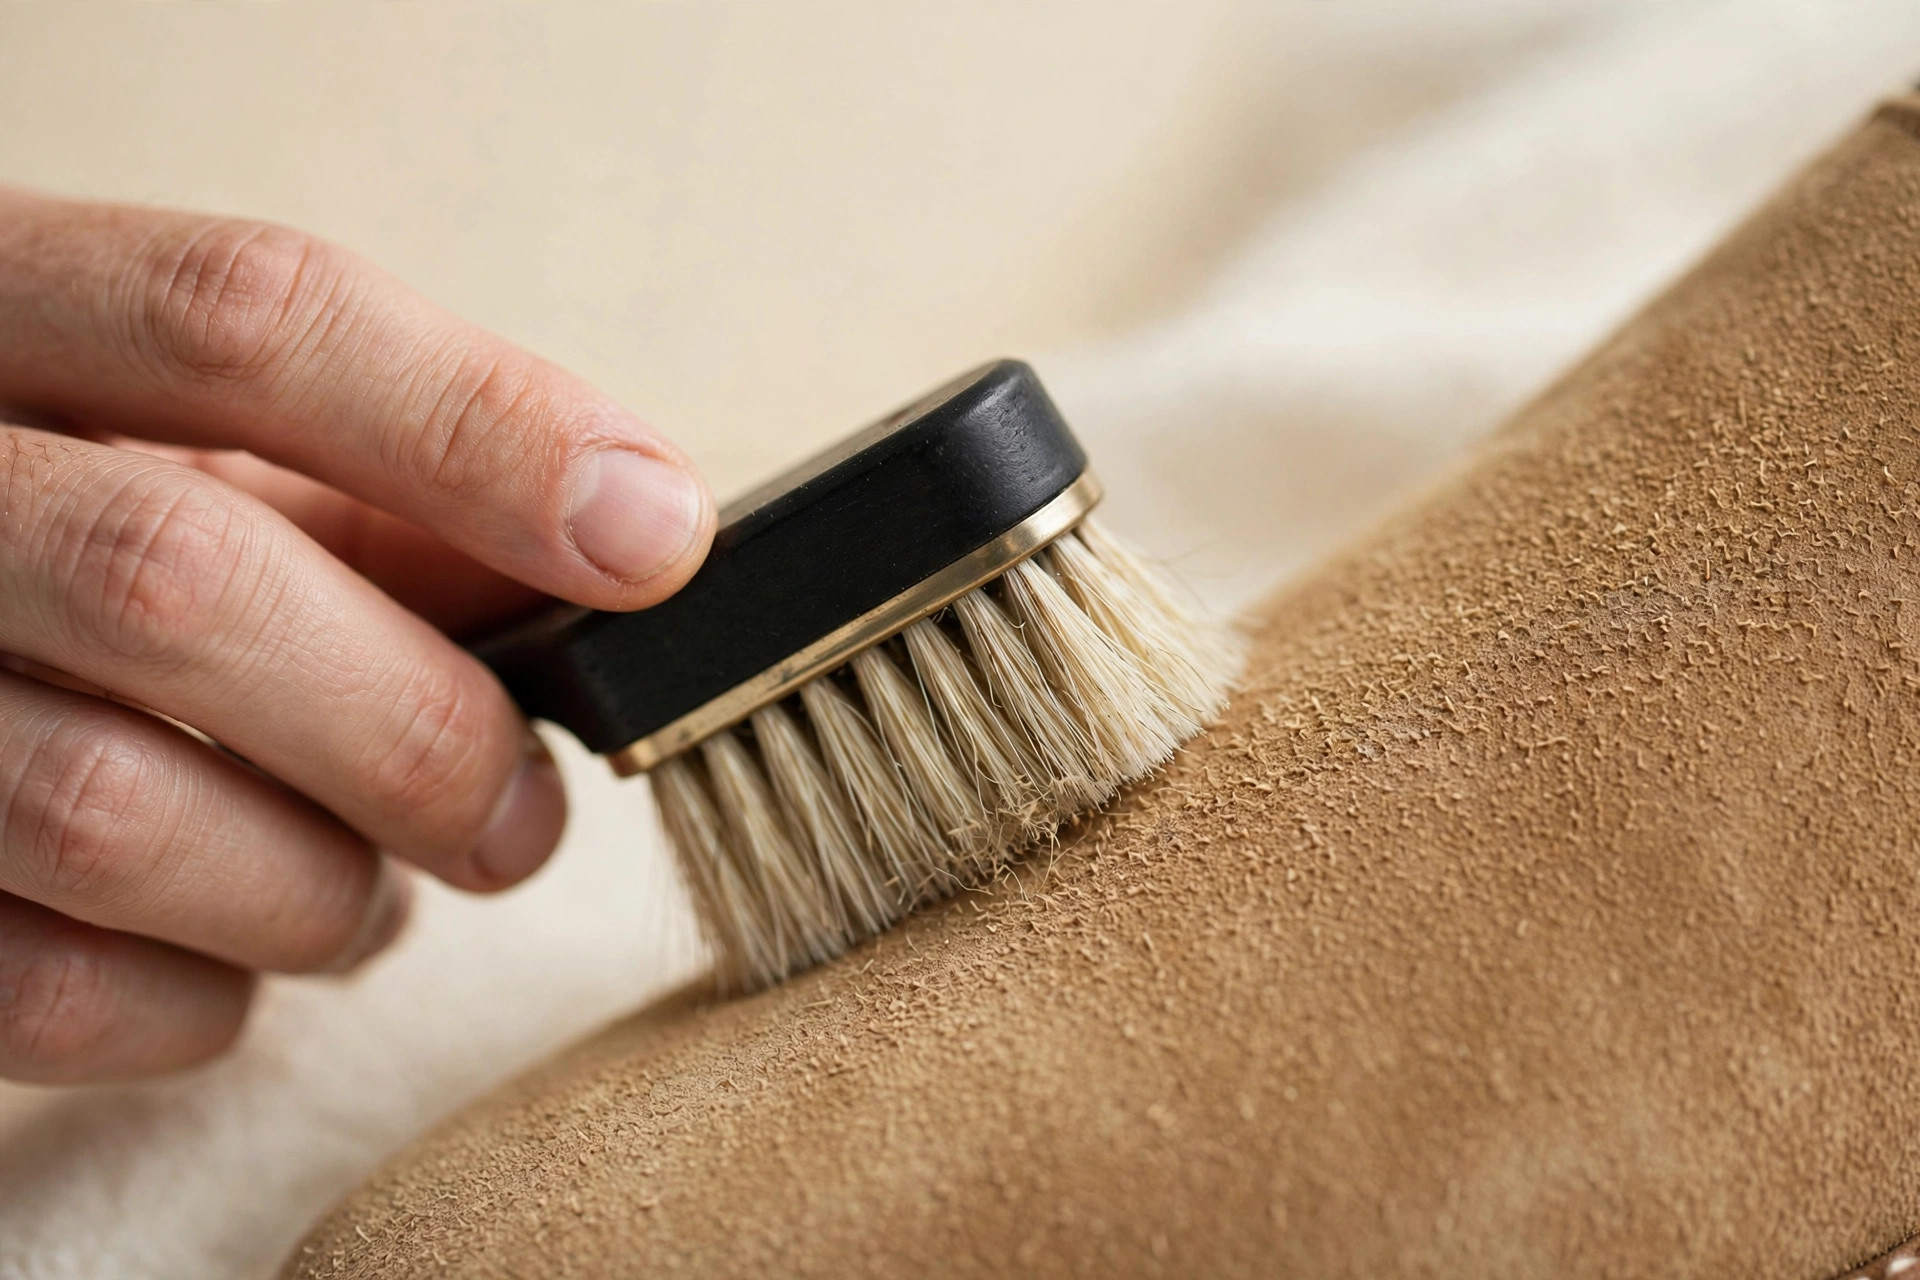
- Brush the entire shoe. Using the stiff side of the suede brush, sweep the whole surface in one direction to smooth the nap, then brush gently against it to lift crushed fibers. This alone removes loose dust and restores the even, velvety finish. Brush off any dust that settles on the laces or sole edge.
- Erase scuffs and dry marks. Rub the crepe eraser lightly over the mark using short strokes in one direction — no sawing back and forth. The eraser crumbles as it works; brush away the residue with the soft side of the brush and check your progress. Repeat for stubborn marks rather than pressing harder.
- Handle dried mud. Never attack wet mud. Let it dry completely, then flake off what you can with your fingernail or the edge of the brush. Brush the remainder away, lifting the nap as you go, and finish with the eraser on any remaining shadow of the stain.
- Even out water stains. A water stain is really a line where wet suede meets dry suede. Lightly mist the entire panel — not the spot, the whole panel — with clean water from a spray bottle, so the area dries as one uniform surface. Blot any drips immediately with the soft cloth, stuff the shoe, and let it dry naturally away from heat. When dry, brush the nap back into shape.
- Lift oil and grease spots. Cover the spot with a thick layer of cornstarch or baking soda and leave it overnight. The powder draws the oil out of the fibers. Brush it off the next day, repeat once if a shadow remains, then finish with the eraser.
- Remove salt lines. Winter road salt leaves pale tide marks. Dab the marks with a cloth barely dampened in a mix of equal parts white vinegar and water, working from the outside of the stain inward. Use as little liquid as possible, blot, and air-dry fully before brushing the nap back up.
Drying: The Step Where Good Shoes Go to Die
If there is one rule to memorize, it is this: suede dries at room temperature, away from every heat source you can think of. Radiators, hairdryers, space heaters, and long sessions in direct sun all dry the skin too fast, leaving it stiff, cracked, or shrunken. The nap goes brittle and the shape goes with it.
The right method is boring, and that is the point. Stuff the shoes with white paper or shoe trees — not newspaper, which can transfer ink — and leave them in a ventilated room. A fan moving room-temperature air across them is fine and speeds things along safely. A fully soaked pair can take a full day or more; give it that time rather than rushing it.
Protector Spray: The Step Everyone Skips
Protector spray is prevention, not repair, which is why people underestimate it. A fresh coat before the first wear — and a fresh coat after any deep cleaning — makes the next round of cleaning dramatically easier, because water and dirt sit on the barrier instead of soaking into the fibers.
Apply it outdoors or in a ventilated space. Hold the can about 15–20 centimeters away and spray in light, even passes until the surface looks uniformly damp. Let the shoes dry completely — at least half an hour — then brush the nap lightly to restore the texture. Always test on a hidden spot first, such as the inside of the tongue, to confirm the color does not shift.
Storage Keeps the Nap Alive
Brush the shoes once before putting them away, insert shoe trees, and store them in the dust bags they came with or a breathable cotton bag. Sealed plastic boxes trap moisture and flatten the nap — suede prefers airflow.
Give suede rest days between wears. The fibers recover their loft when the shoe sits stuffed and undisturbed, which is why a pair worn every other day looks better after a year than a pair worn daily. Keep them away from prolonged direct sunlight in storage, which fades the color unevenly.
When to Hand Them to a Cobbler
Home care has limits, and knowing them is part of caring for good shoes. Take the pair to a professional cobbler when you see deep oil stains that survived two rounds of the powder method, patches where the nap has worn down to a shiny bald spot, torn or cracked suede, or color loss that leaves pale patches.
A good cobbler can re-dye suede, rebuild a crushed nap with professional steaming, and re-glue lifting soles — work that is difficult to do well at home and easy to make worse. For a quality pair, a professional clean and re-dye typically costs far less than a replacement, and it is the right call whenever the damage goes deeper than the surface.
Frequently Asked Questions
Can you wash suede shoes with water and soap?
No — soap is one of the fastest ways to ruin suede. It strips the fibers and leaves residue that shows as uneven marks. Clean water, used sparingly and only to even out a water-stained panel as described above, is the only liquid that should touch the nap during home cleaning.
How often should you brush suede shoes?
A quick brush after every few wears keeps dust from settling into the nap, and a brush before storing them after each wear takes under a minute. Deeper cleaning with the eraser or stain methods is only needed when you see visible marks — over-cleaning wears the nap down faster than normal wear does.
Does protector spray really make a difference?
Yes, as prevention. It does not make suede waterproof — standing water will still get through — but it buys you time to blot a spill and keeps everyday dust and light rain from soaking straight into the fibers. Reapply after any thorough cleaning and at the start of each season.
Can you use a toothbrush on suede in a pinch?
A soft, clean toothbrush works as a stand-in for the finishing side of a suede brush on small areas — gentle, one-direction strokes only. It is not a substitute for a proper suede brush on a full shoe, and a medium or hard toothbrush can be too aggressive. Pick up a real suede brush when you can; it is an inexpensive tool.
Why do my suede shoes look darker in some spots?
Uneven darkness is usually crushed or matted nap catching the light differently, not actual discoloration. Brush the dark areas against the grain to lift the fibers, then smooth everything in one direction. If the spot stays dark after lifting the nap, treat it as a stain with the eraser or the oil method above.